My favorite online thrift store has them all the time, but apparently I'm not the only one looking for a pair. The shipping is usually about $15, which leads me to bid conservatively and I'm usually outbid very quickly. But finally I got this pair of black suede "shotgun" style fringed chaps for a bid of $5.95. With shipping, it was just over twenty bucks. No one else even bid! I wonder why? Oh well, they're mine now.
They were fine as they were: clean and workable, and the fit was good. But I decided it would be quite easy to re-design them a little, make them look more expensive, and personalize them using my leathercraft skills. Some friends of mine recently gifted me with a big piece of tooling leather, so I figured out a pattern based on the original parts, fancied it up a little, and started working.

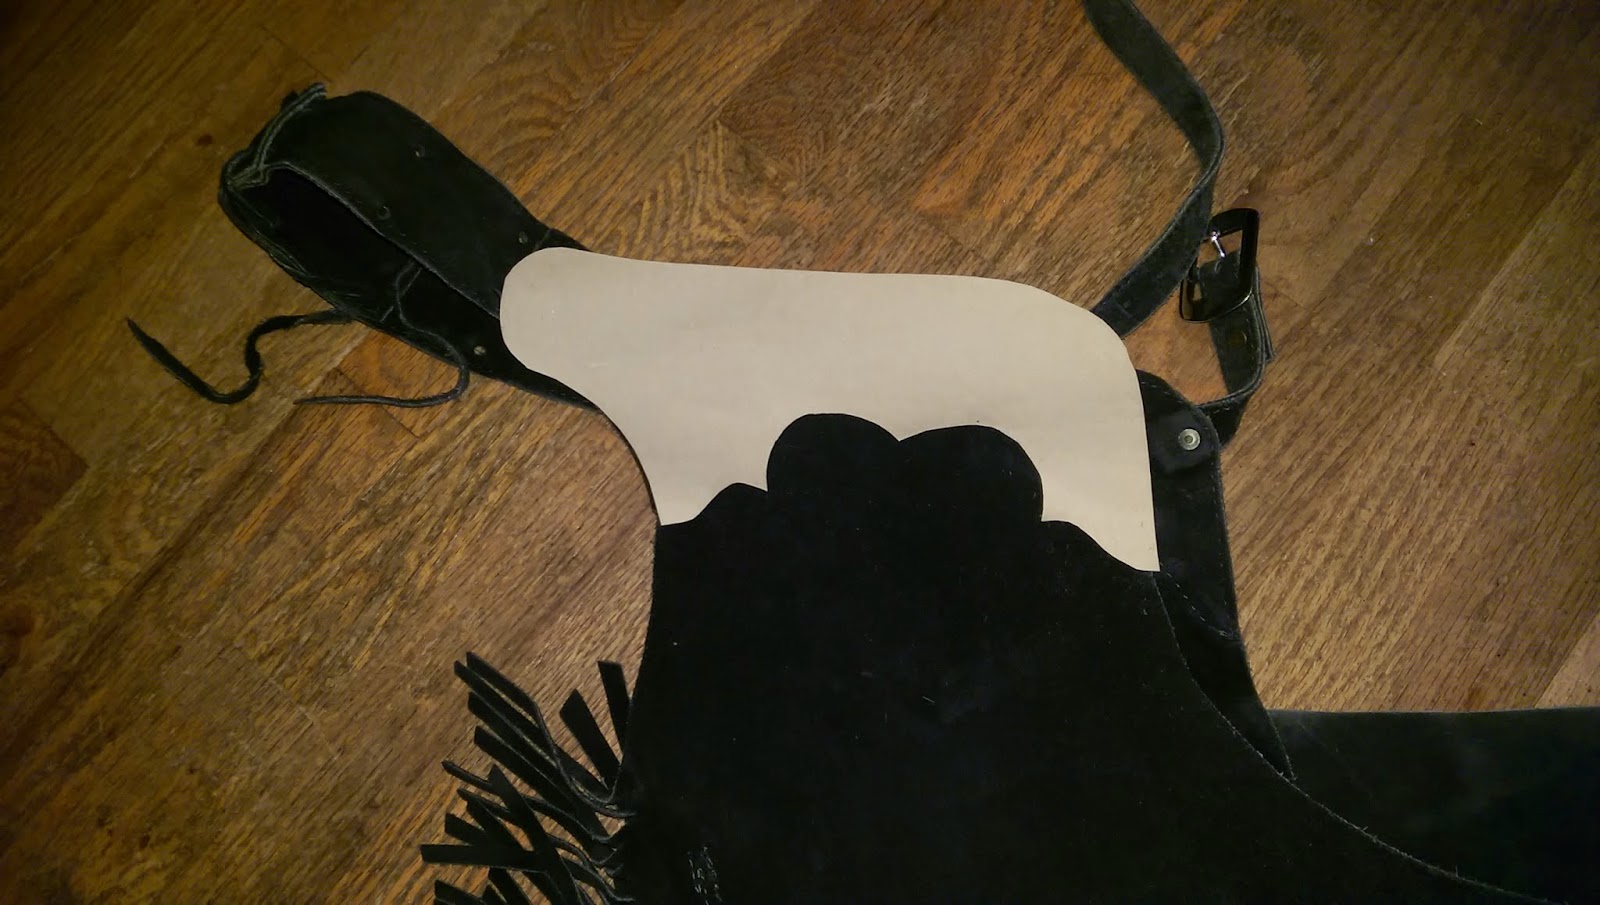
The original yoke and belt. The wide belt goes at the back, and the thinner one buckles in front. Very adjustable, but not very fancy or interesting.
The pattern I made for the yokes, based on the original ones but with a few extra swirls and swoops to make it more eye-catching and, I think, feminine.

The yokes cut from tooling leather. In this pic I've only beveled the edges on the bottom one, and you can compare to see how this slight detail gives the piece a more finished appearance.

This was only the second time I'd ever used my basketweave stamp. It worked up pretty easily once I got the trick of it, and it looks nice!

Basketweave done and the design edge finished with a rainbow-esque cam tool. Looking pretty good. I'm starting to think this will turn out better than I hoped.

Both yoke pieces done. Then I cut a two inch strap for the back belt. I rounded the edges, beveled and stamped it, adding a monogram in the middle to personalize it.

The yoke pieces will be sewn on, and the back belt will attach to them with conchos. This will add for extra adjustment, if needed, as well as looking fancy. (I don't have the conchos yet.)

First coat of dye. It's still damp and a little uneven, but a second coat will fix that. Also, the lighting in the shop and my flash play havoc with the appearance of surfaces. I'm no professional photographer, alas! The color I chose is Lincoln Leather Dye's "Brown". Crazy name!

Glued in place with contact cement. You can see the tiny front belt I made. It's riveted in place, and the stitching on the edge of the leather will hold it even more firmly.

Concho hole punched, and the stitching begins. I have a piece of thick felt to keep the leather from getting scratched by the wooden stitching pony. I used black waxed heavy thread. Stitching leather by hand is slow work for me, but the look and quality is worth it.

No comments:
Post a Comment